Are you bored of flat text in your designs and want to add a touch of sophistication and realism?
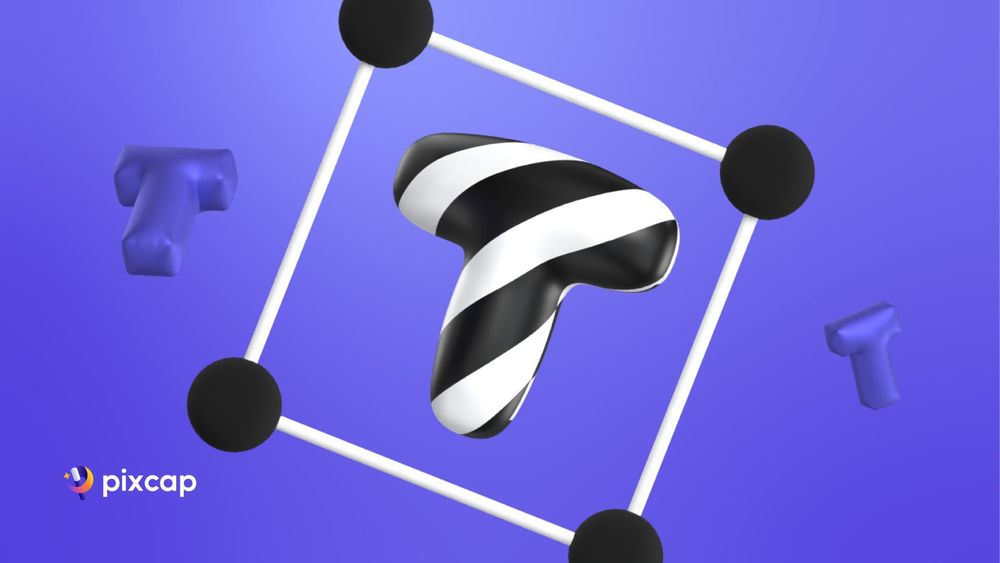
With 3D text, your designs come alive, adding depth and perspective that are simply unattainable with flat text. It allows you to create stunning high-quality designs that capture attention and engage the viewer.
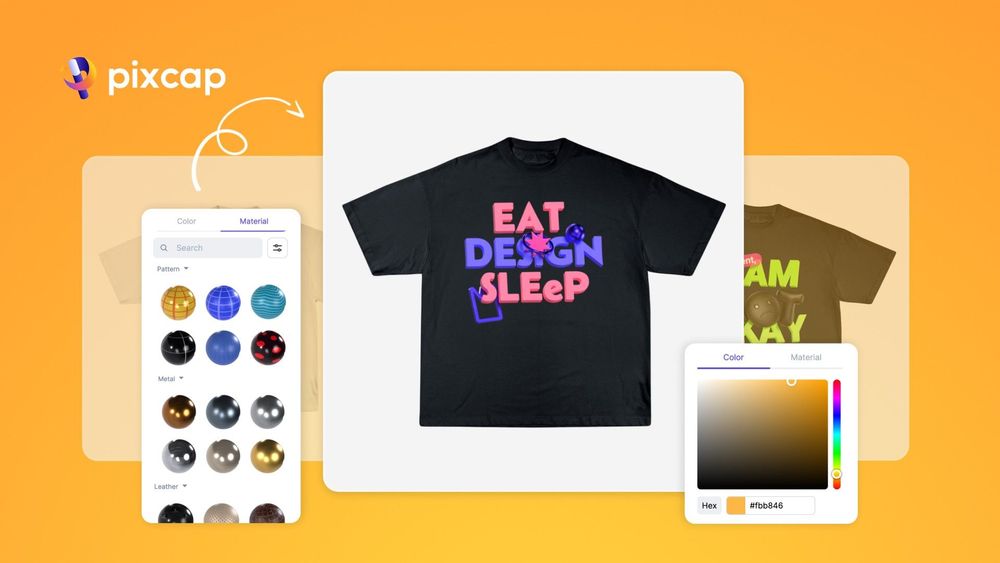
The 3D text feature in Pixcap is user-friendly and customizable. You can easily add 3D text elements to your design, select from a variety of fonts, change colors, and personalize the material, all with just a few clicks.
How to Add & Customize 3D Text in Pixcap
Create a new project by clicking on the "+ New Project" button at the top right of the Explore page.
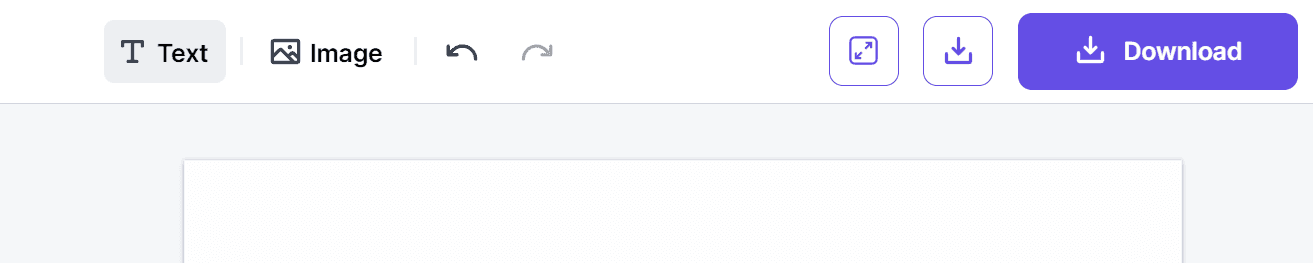
To start adding 3D text, select "Text" from the toolbar or simply use a shortcut by pressing the "T" key.
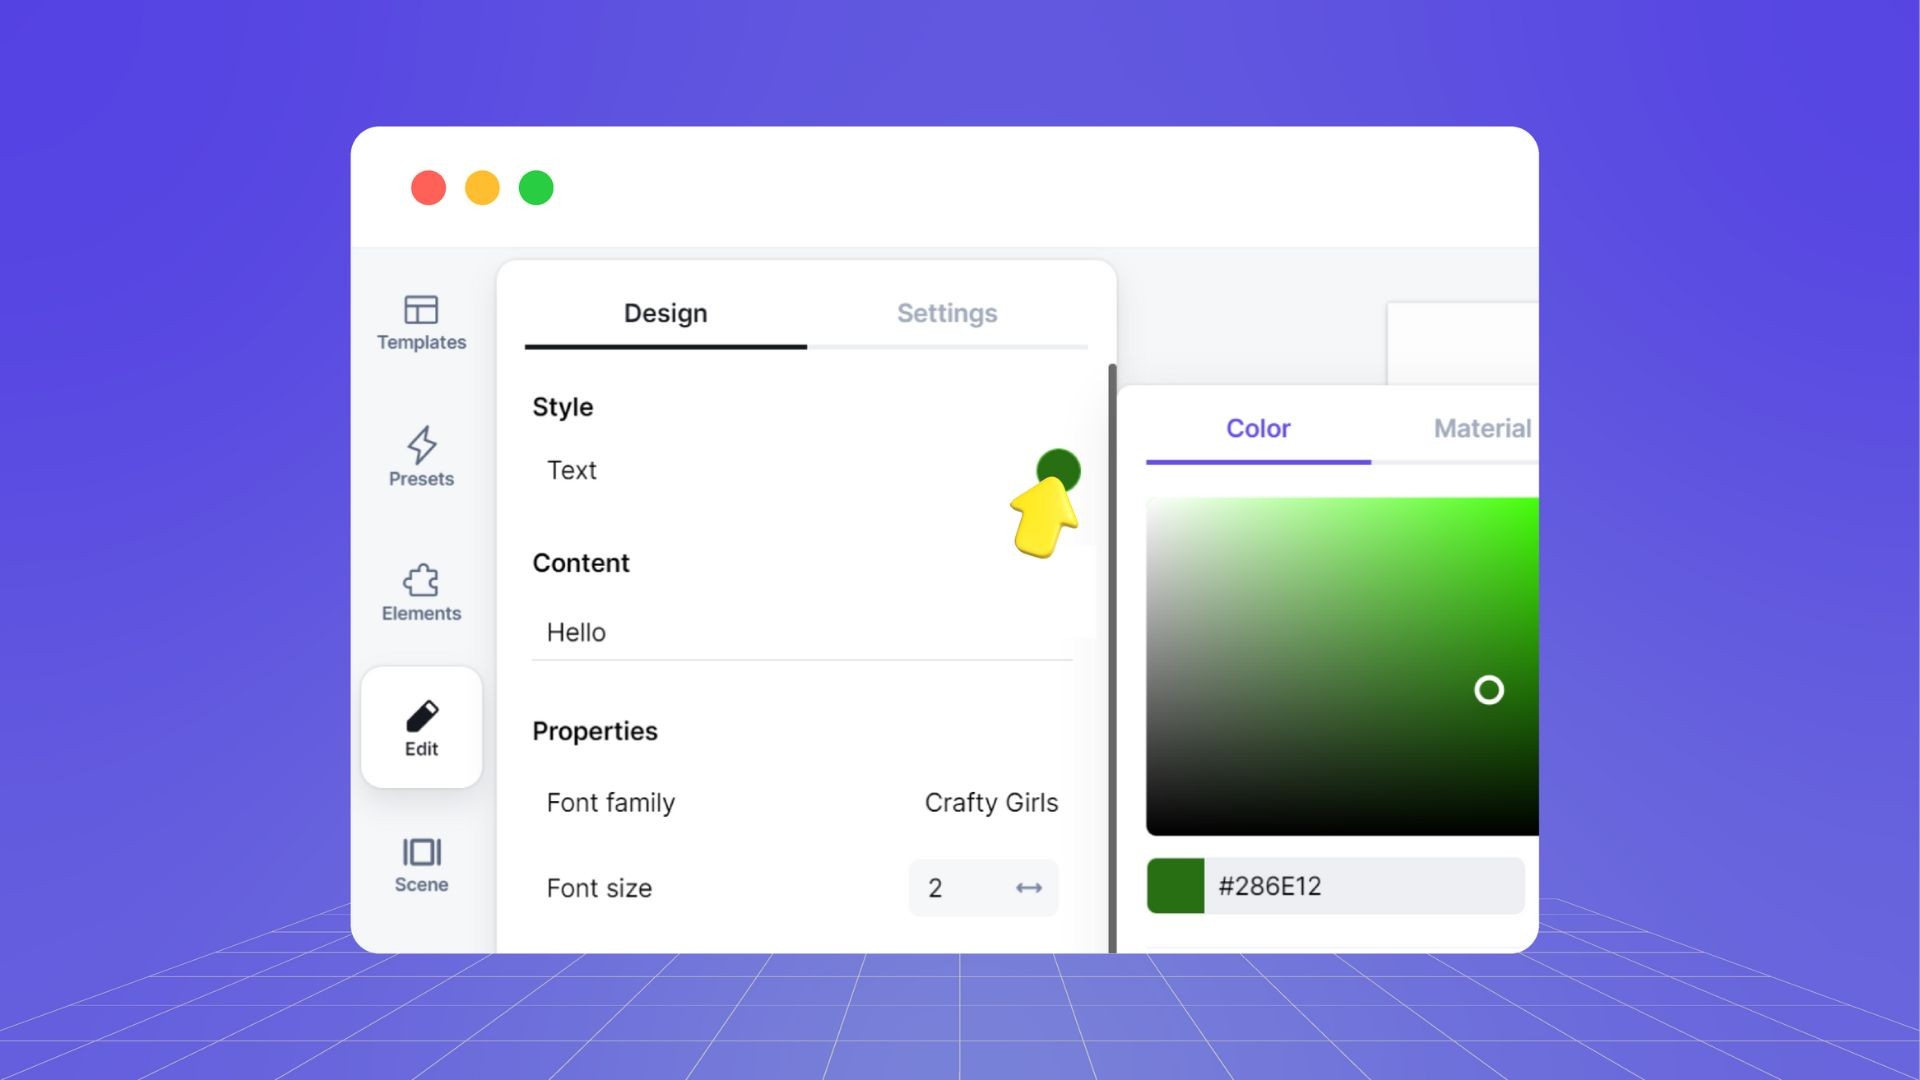
A text box will appear on your canvas, where you can type in your desired text. Now the fun part begins, let's customize your 3D text now!
1. Change the Color
First, to edit 3D text, make sure your text box is selected, in the left-hand "Design" tab, click on the color circle icon next to "Text" and choose a color you want to change. The new color will appear on your 3D text immediately.
You can easily save your most-used or favorite colors by clicking on the plus sign and it will be added to your color palette.
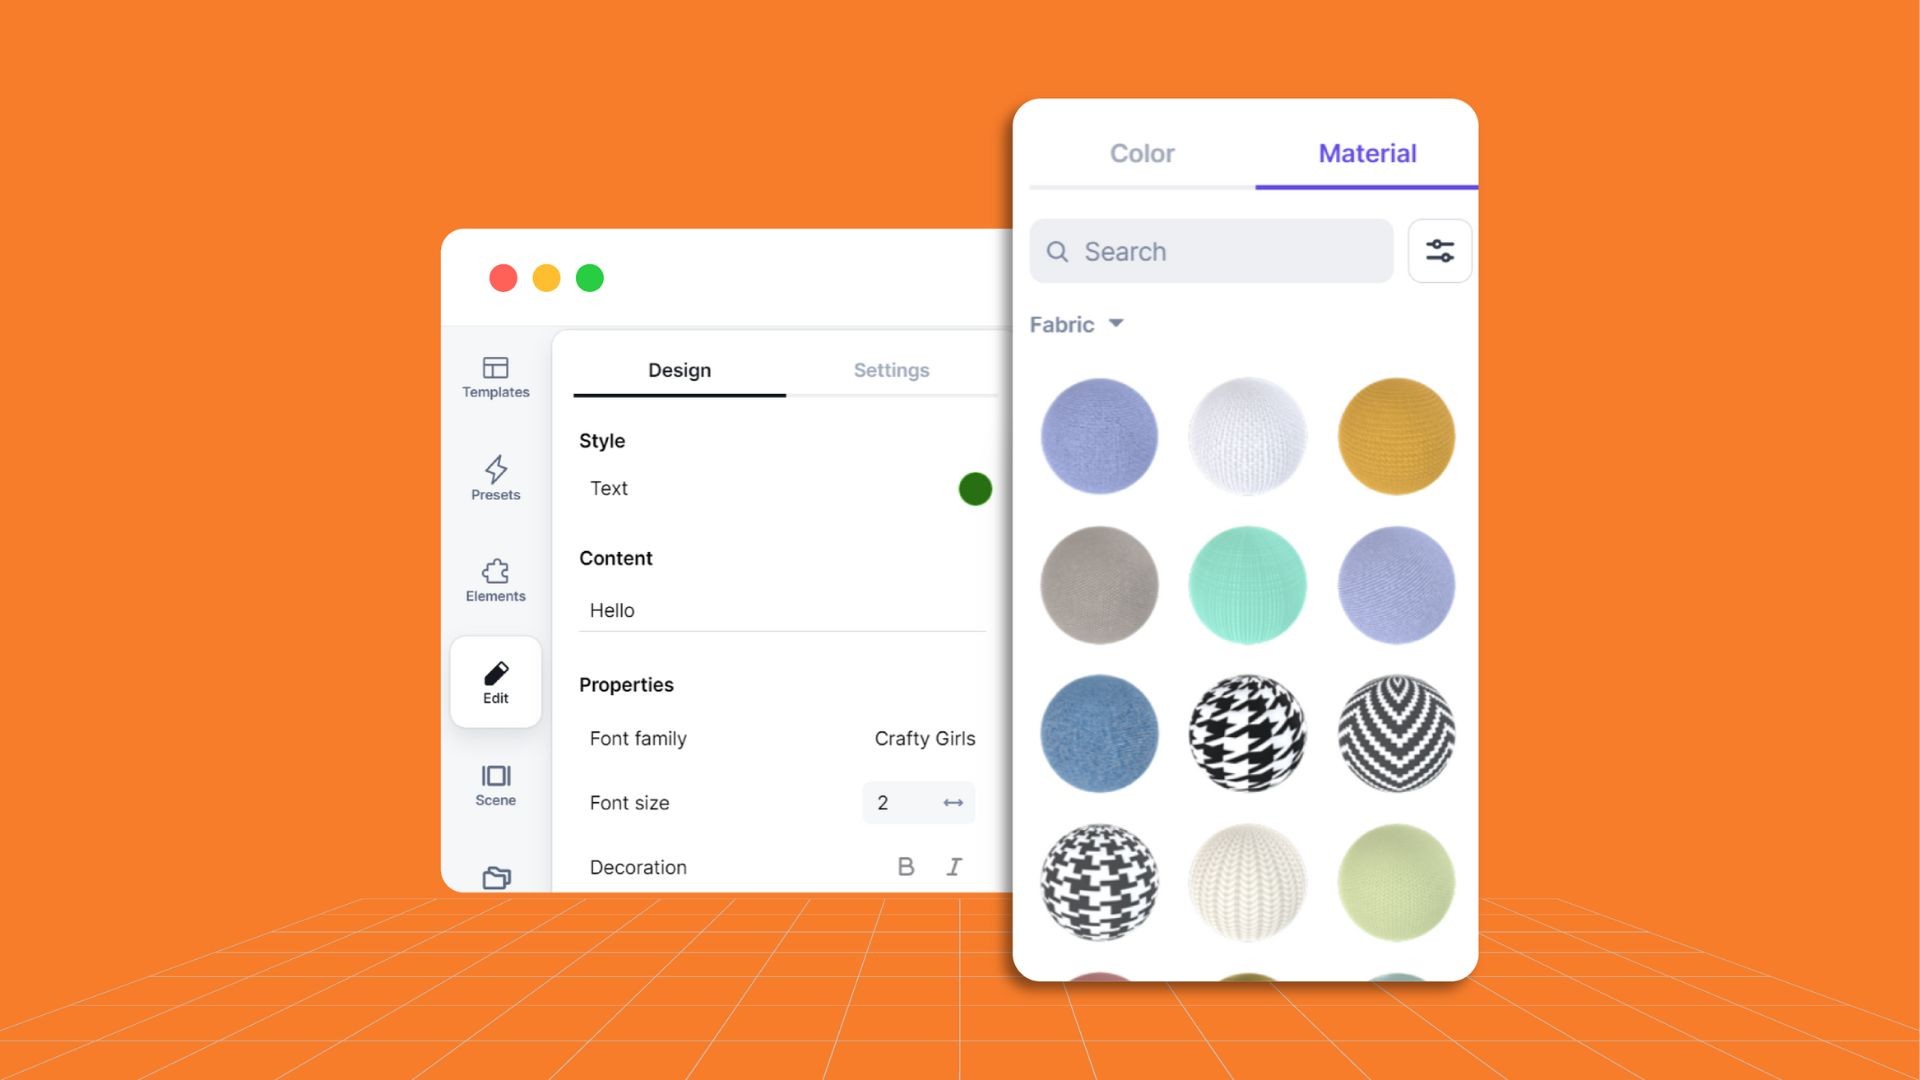
2. Add Material Textures
For an added level of realism, you can add material textures to your 3D text. Simply go to the "Material" tab, next to the "Color" tab, and choose from our wide selection of textures. Mix and match to create unique combinations or select one that best fits your design.
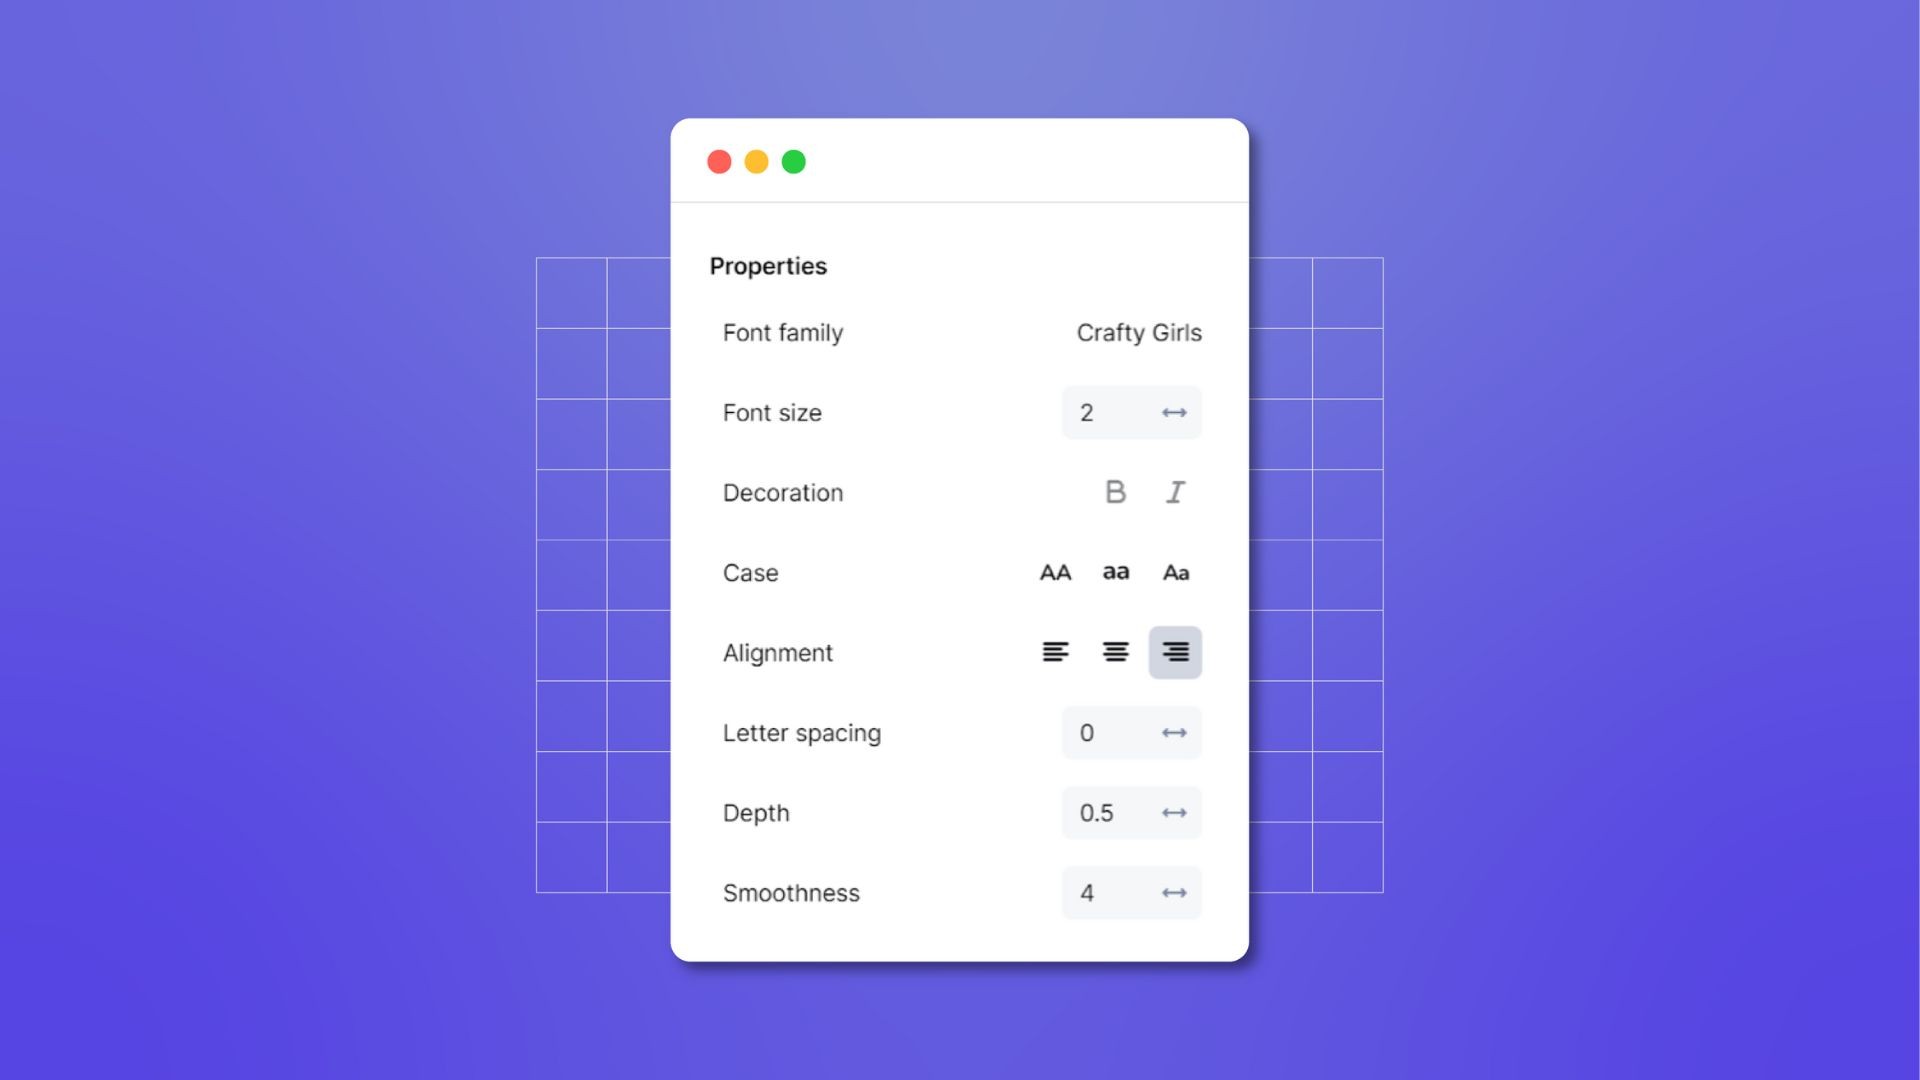
3. Edit Other Properties
In the last section "Properties", you can find a range of options to customize your 3D text even further:
Font family: Choose from a variety of creative fonts to find the perfect style for your design.
Font size: Increase or decrease the size of your text by dragging the slider icon or typing in a specific number.
Decoration: Add bold or italic effects to your text.
Case: Change the case of your text to uppercase, lowercase or sentence case.
Alignment: Align your text to the left, center or right of the text box.
Letter spacing: Adjust the spacing between letters to create a more spaced out or condensed look. Simply slide the 2-way arrow icon to increase or decrease the spacing, or type in a specific value.
Depth: Adjust the depth of your 3D text to give it more or less volume.
Smoothness: Make your text appear smoother or more angular by adjusting the smoothness level.
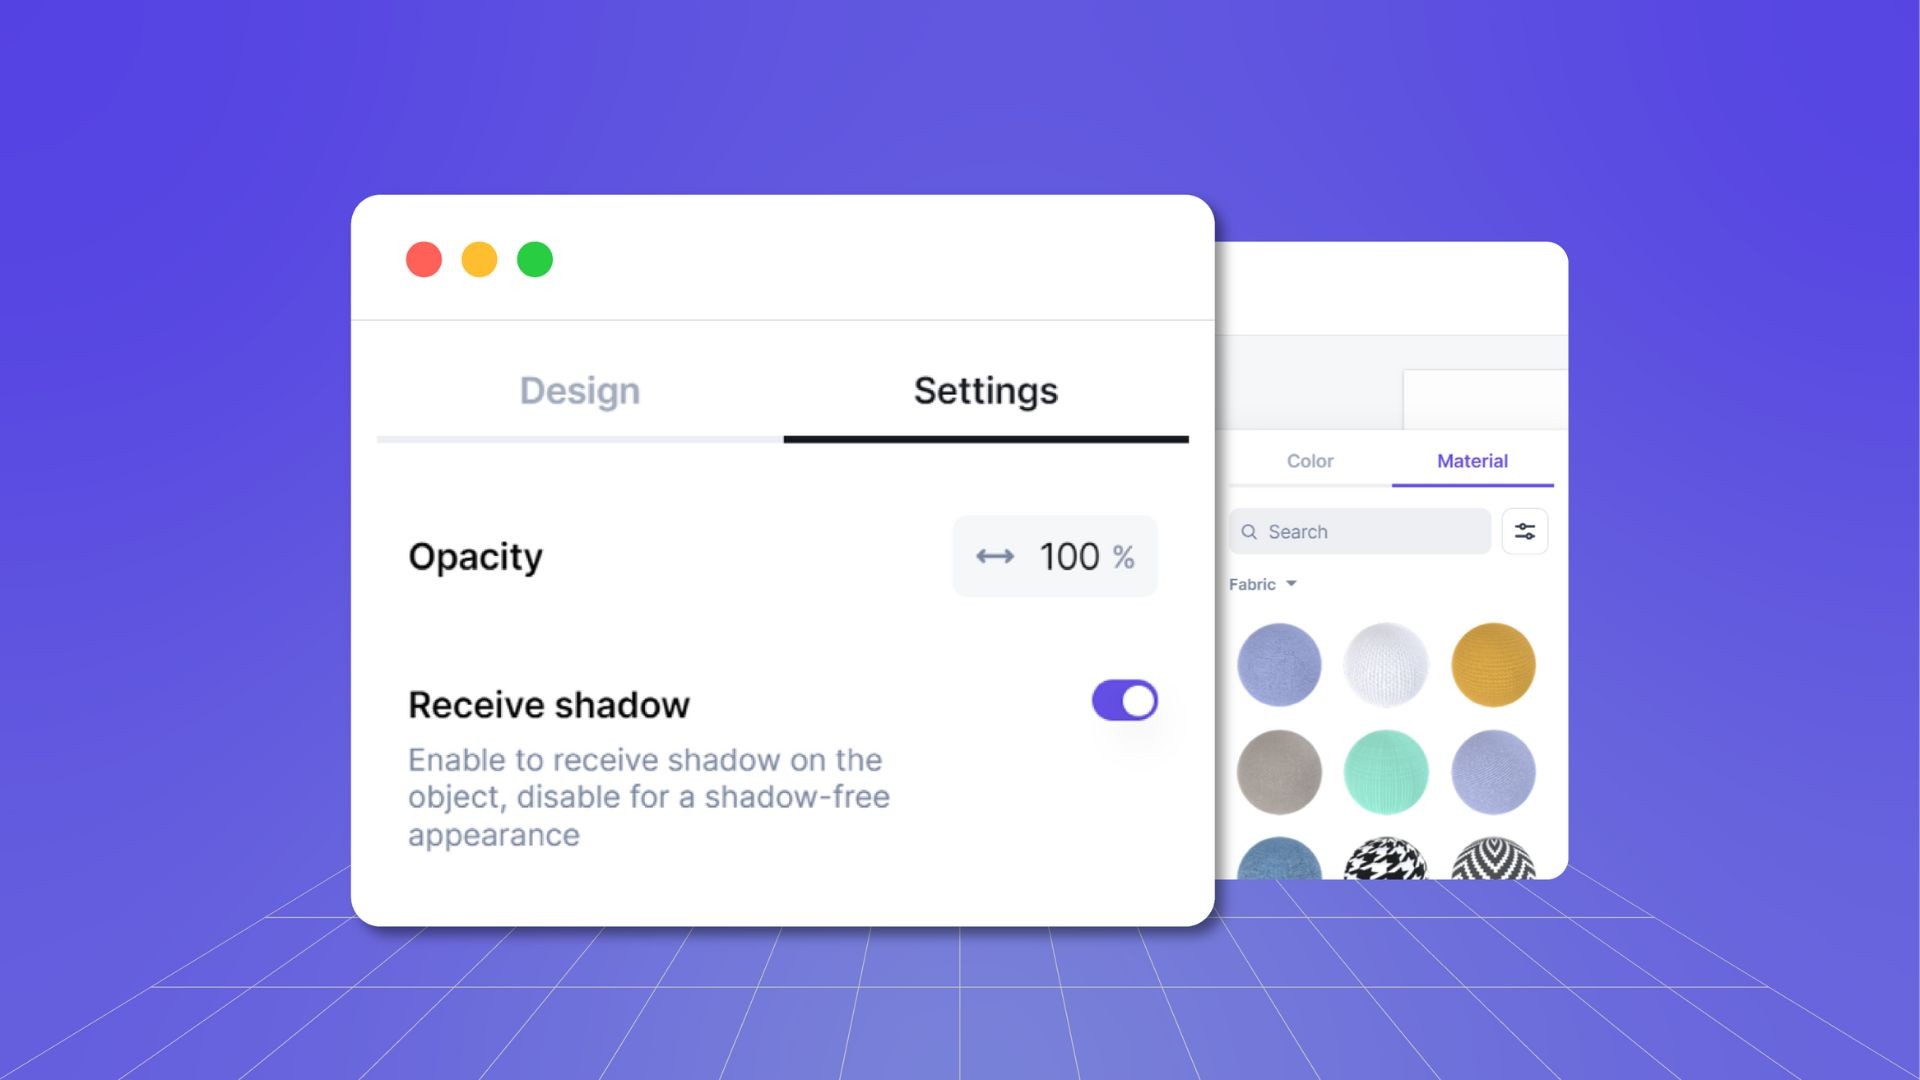
4. Advanced Settings
Go to the next tab "Settings" and you will find 2 more advanced options to fine-tune your 3D text. These include:
Opacity: Adjust the transparency of your text to create a see-through or solid effect.
Receive shadow: This is where you can enable or disable the option for your text to receive shadows from other objects in the scene. Turn it off if you prefer a more flat and simple look, or turn it on for a more dynamic and realistic effect.
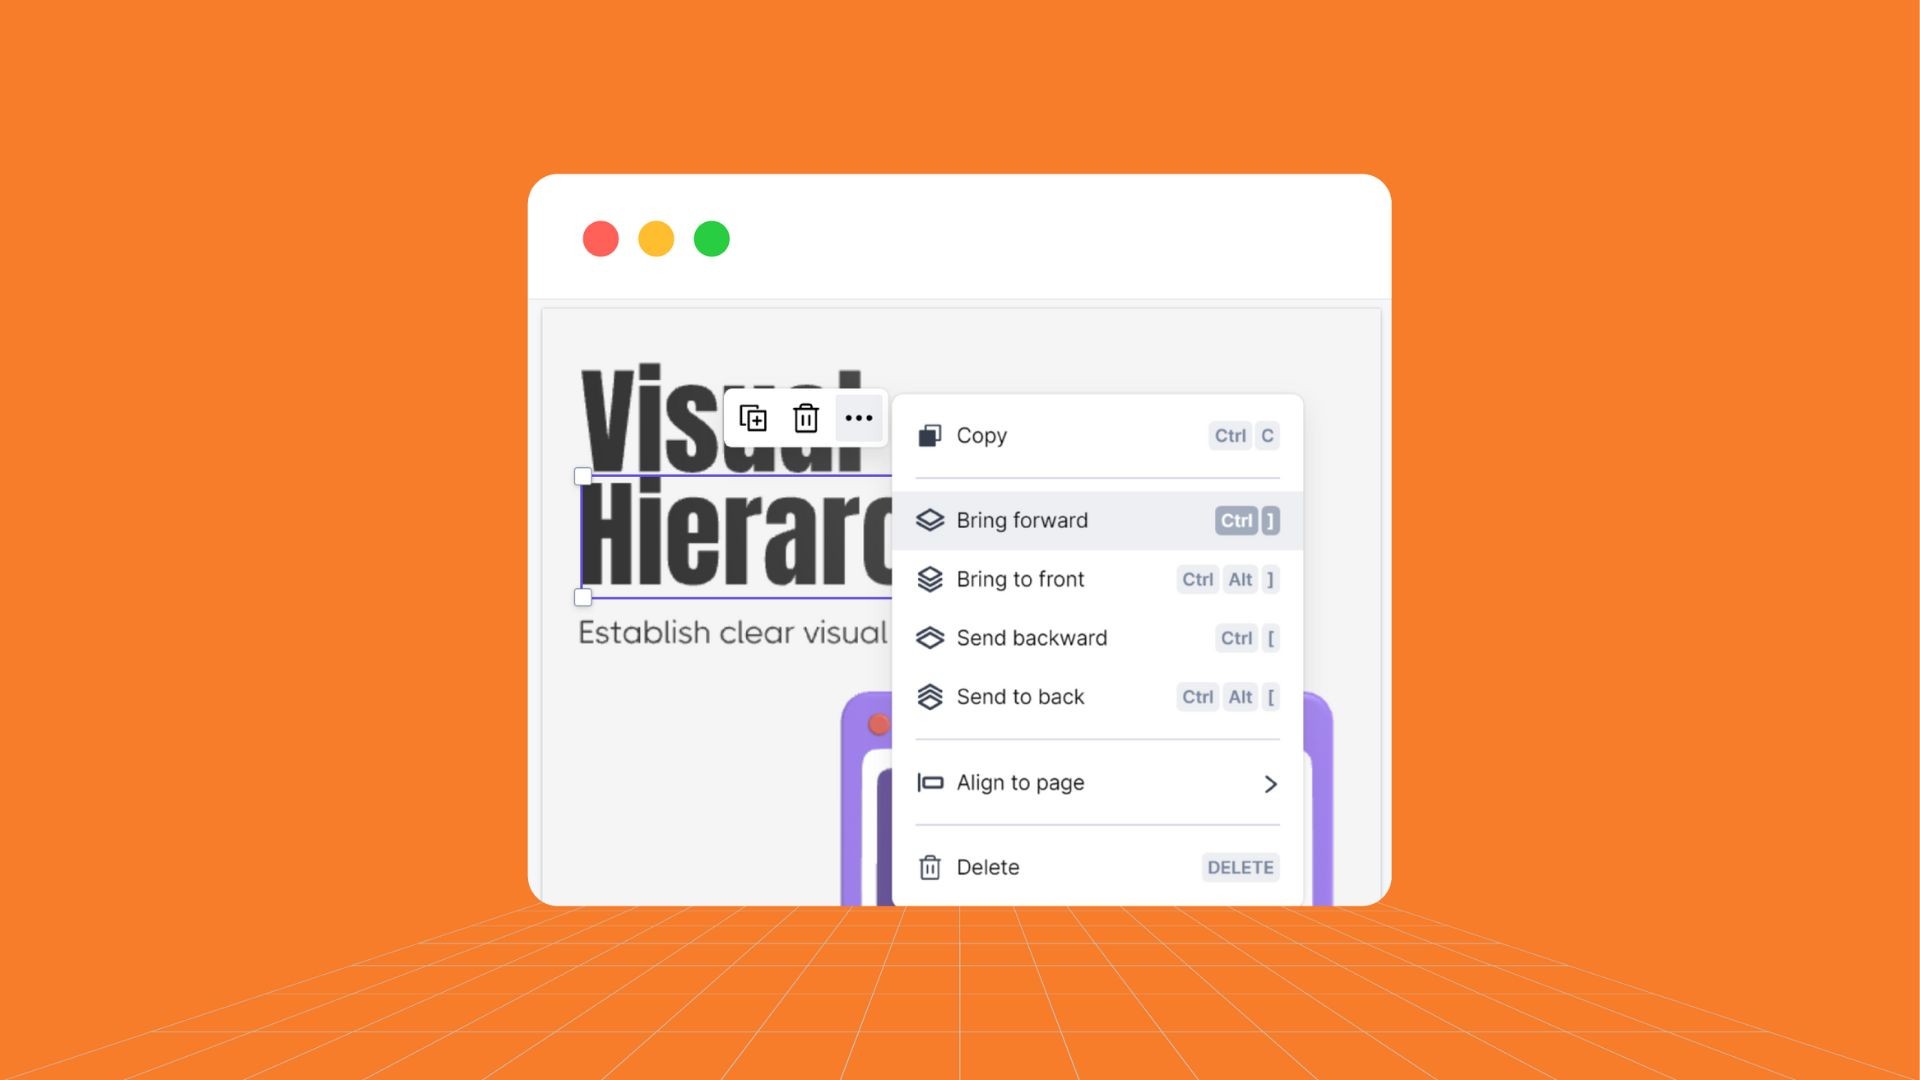
5. Quick Toolbar
The quick toolbar is located at the top of your 3D text box and allows for easy and quick access to frequently used tools such as copy, delete, layers and alignment.
Additionally, you can use the shortcut keys listed next to each tool for faster navigation.
3D Text for All Your Design Needs
Pixcap's 3D text feature is super quick and easy to use! With just a few clicks, you can create the most impressive text design. It's perfect for adding eye-catching text to your logos, social media posts, website banners and more. Plus, with our unlimited library of 3D models and elements, you can truly make your designs stand out.