
If you're a graphic designer or a graphic artist, learning how to make a clip mask is an essential skill. This powerful software allows users to create vector graphics and illustrations with ease.
One useful feature in Illustrator is the ability to make clipping masks. Clipping masks allow you to crop or hide parts of an image, text, or shape using another shape as a mask.
This can come in handy when you want to add texture or pattern to your artwork.
In this tutorial, we'll go over the steps on how to make a clipping mask in Illustrator, so you can start incorporating this technique into your design process.
How to Make a Clipping Mask in Illustrator
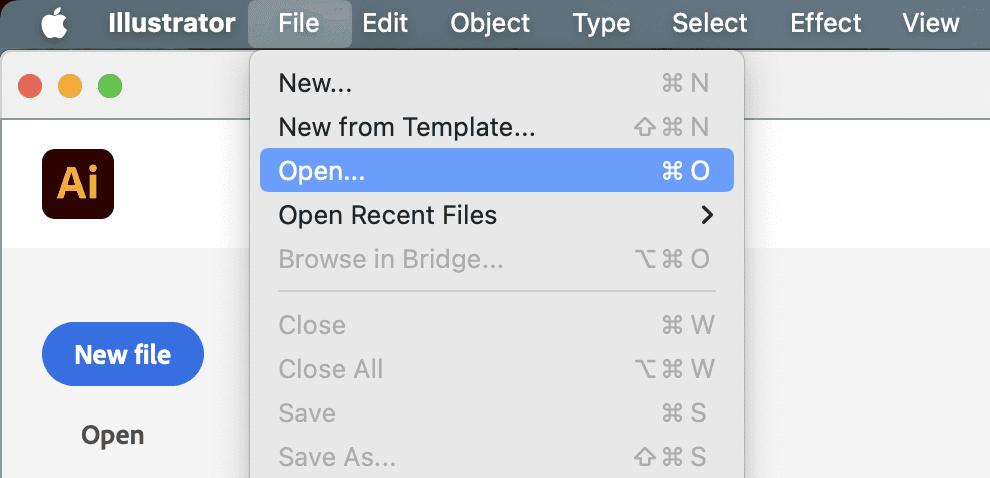
Step 1: Open File in Illustrator
Launch Adobe Illustrator and open the file you want to work on. Make sure to have the image, text or shape you want to mask and the shape you will use as a mask in the same file.
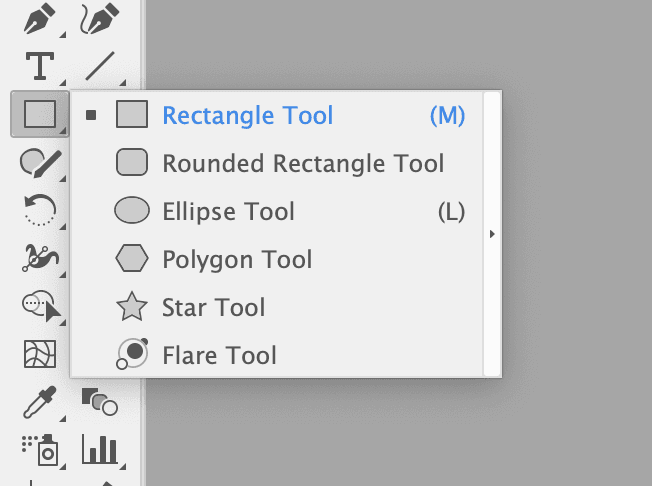
Step 2: Create Your Base Shape
The first step in creating a clipping mask is to create the base shape that you want to use as your mask. This can be any shape or object, such as a circle, square, or even text.
To create a new shape, select the "Shape" tool from the toolbar on the left side of your screen. Then, click and drag on the canvas to create your desired shape.
Step 3: Add Your Content
Next, you want to add the content that you want to be masked by your base shape. This can be an image, text, or other shapes.
To do this, select the content you want to mask and place it on top of your base shape.

Step 4: Create the Clipping Mask
To create the clipping mask, make sure that your base shape is on top of the content you want to mask. Then, select both objects by clicking and dragging a selection box around them or by holding down "Shift" and clicking on each object.
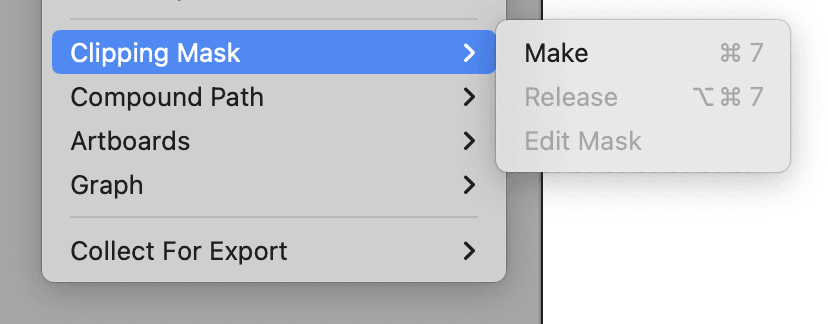
Once both objects are selected, go to "Object" in the top menu and select "Clipping Mask" from the dropdown menu. You can also use the shortcut "Command + 7" on a Mac or "Ctrl + 7" on a PC.
Step 5: Edit and Refine
After creating your clipping mask, you may want to make some adjustments to get your desired result. To do this, click on the clipping mask and use the selection tool to move or resize it. You can also double-click on the mask to enter isolation mode, where you can edit the contents without affecting other objects in your file.

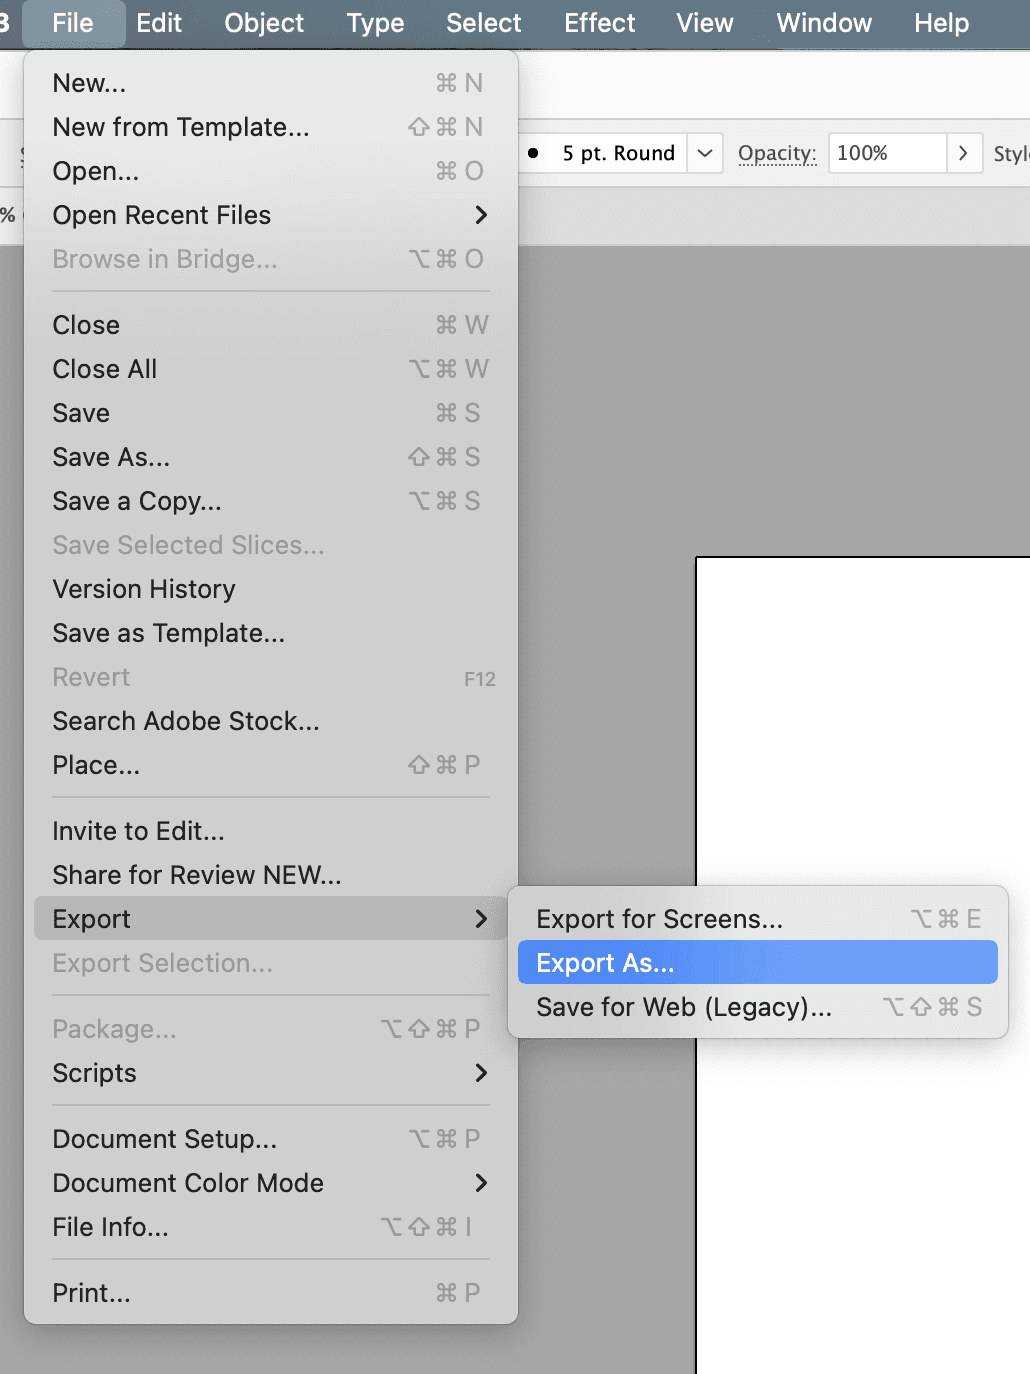
Step 6: Export Your File
Once you are happy with your clipping mask, you can export your file in the desired format. To do this, go to "File" in the top menu and select "Export" or use the shortcut "Command + E" on a Mac or "Ctrl + E" on a PC.
What Is a Clipping Mask?
A clipping mask is a powerful and versatile tool in graphic design that allows you to combine different shapes, images, and text to create unique designs.
It works by hiding portions of one object with the shape or path of another object on top of it. This technique is commonly used in logo design, digital art, and typography to create visually appealing and dynamic compositions.
Clipping masks also provide flexibility in editing and refining your designs, as you can easily move or resize the mask without affecting the underlying objects.
What Does a Clipping Mask Do?
A clipping mask serves several functions in graphic design, including:
Creating unique compositions: By using a clipping mask, you can combine different shapes, objects, and images to create visually appealing designs.
Hiding unwanted portions: If you have an image or text that you want to hide certain parts of, a clipping mask allows you to do so easily without permanently altering the original object.
Adding depth and dimension: Clipping masks can be used to add depth and dimension to your designs by creating layers and overlapping objects.
Refining designs: With clipping masks, you can easily move or resize the mask without affecting the underlying objects, making it a useful tool for refining and perfecting your designs.
Saving time and effort: Instead of manually erasing or masking parts of an object, a clipping mask automatically hides them, saving you time and effort in the design process.
What Is the Command for Clipping Mask in Illustrator?
In Adobe Illustrator, the command or shortcut for creating a clipping mask is "Command + 7" on Mac or "Ctrl + 7" on Windows. This shortcut will create a clipping mask using the selected object as the mask and the underlying objects as the clipped content.
Alternatively, you can also access this command by going to Object > Clipping Mask > Make. This will give you the option to choose which object you want to use as the mask and which objects you want to be clipped.
To release a clipping mask, use the shortcut "Command + Option + 7" on Mac or "Ctrl + Alt + 7" on Windows. You can also go to Object > Clipping Mask > Release to remove the mask and reveal all of the underlying objects.
Summary
Creating a clipping mask is a must-known skill for any designer using Adobe Illustrator. It allows you to hide certain parts of an object and add depth and dimension to your designs. With this tool, you can easily refine your designs without permanently altering the original objects. It's a simple yet powerful technique that can greatly enhance your design quality.