Packaging design is the process of creating the exterior of a product, including choices in material, graphics, colors, and fonts, which work together to make the product appealing to consumers. A well-executed packaging design not only captures attention but also communicates the brand’s message and values effectively.
Dielines are particularly crucial in the creation of custom packaging, ensuring that personalized designs are accurately translated into physical products.
Integral to successful packaging design is the concept of a dieline. In this guide, we will discuss what a dieline is and how to create one for packaging.
What Is a Dieline?
A dieline is a digital template depicting the flattened layout of a finished package, including all folds and cuts. This template is crucial for ensuring the correct layout and accurate manufacturing of the final product.
To understand a dieline better, think of it as a blueprint for a physical package. Just as architects rely on blueprints to guide the construction of buildings, designers use dielines to guide the creation of packaging for clothing, food, tools, and more. The dieline outlines all the necessary elements—the dimensions, creases, and cut lines—so that once the design is printed and cut, the packaging will fold and fit together perfectly.
The Components of a Dieline
Understanding the various lines and markings on a dieline is essential for creating precise and functional packaging. Here are the main components:
Cut Lines (Bold)
These lines indicate where the material will be cut to create the final shape of the package. Cut lines are essential for defining the precise boundary of your packaging, ensuring that each piece is the correct size and shape once cut, and guiding the die cutting process.
Fold Lines (Dashed)
Fold lines show where the material should be folded to form the package. These dashed lines help guide the folding process, ensuring that each fold is crisp and accurate, allowing the packaging to assemble correctly.
Crease Lines (Scored Lines)
Crease lines, or scored lines, indicate where the material should be scored to create a clean fold. While crease lines are optional and depend on the design, they are particularly useful when working with thicker materials, as they ensure smoother and more precise folds.
Bleed Lines (Thin Lines)
Bleed lines represent the extra area of the artwork that extends beyond the cut line to avoid white edges after trimming. This area ensures that the printed design reaches the very edge of the package, providing a professional and polished appearance.
Safety Margin (Area)
The safety margin, also known as safety lines, is a designated space where important design elements should not be placed to avoid getting cut off during trimming. Highlighting this area ensures that crucial elements like text or logos remain intact and are not inadvertently trimmed off during the cutting process.
Why Dielines Are Important?
Dielines are an essential part of the packaging process as they serve as a blueprint for creating functional and visually appealing packages. Here are some reasons why dielines are crucial in packaging design:
Ensures Accurate Layout and Dimensions
Dielines, often created using mathematically described lines, are essential for accurately laying out and dimensioning the final package. By providing a precise template for cutting, folding, and assembling, dielines ensure that every component of the package fits together seamlessly, resulting in a professional and functional final product.
Guides Graphic Design
Dielines serve as a critical guide for graphic design, ensuring that custom packaging artwork placement aligns perfectly with the finished product. By following the dieline, packaging designers can make sure that images, text, and other design elements are correctly positioned, avoiding any misalignment or design flaws in the final packaging.
Facilitates Clear Communication
The use of dielines facilitates clear and effective communication between packaging designers, manufacturers, and printers. With a detailed dieline, everyone involved in the production process can visualize the final product, understand the layout requirements, and adhere to the design specifications, ensuring consistency and quality.
Helps Prevent Production Errors and Waste in the Die Cutting Process
Using dielines helps prevent production errors and wasted materials. By having a precise template, packaging manufacturers can minimize mistakes during cutting, folding, and assembly, leading to more efficient production and reducing material waste.
Now Let's Unfold a Cereal Box
To understand how a dieline works in practice, let’s consider a finished cereal box.
When unfolded, the box lays flat, revealing a network of cut, fold, and crease lines. The cut lines outline the shape of the panels and tabs that will form the box. Fold lines indicate where the material should be folded to create the box’s structure, while crease lines ensure clean, precise folds. Glue tabs are also indicated on the dieline to show where adhesive should be applied to hold the box together. Bleed lines around the edges guarantee that the printed design covers the entire surface, and the safety margin ensures that essential design elements remain intact. This detailed templating ensures that when the box is assembled, it looks polished and professional, with all design elements correctly positioned.

Image source: cedargraphicsinc.com
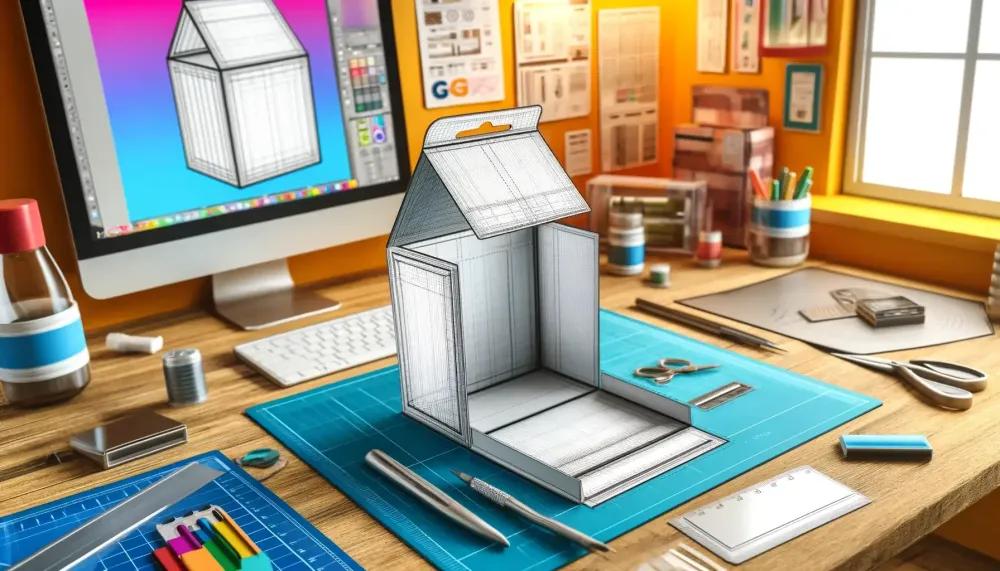
How to Create a Dieline as a Packaging Designer?
Here's a general process for creating a dieline:
1. Design Software
Dielines are typically made using vector art in graphic design software like Adobe Illustrator. These programs allow for precise measurements and clean lines crucial for accurate die-cutting.
By using software designed for vector graphics, designers can create scalable dieline templates that maintain their integrity regardless of size adjustments. This precision ensures that all design elements align perfectly with the production requirements, leading to a flawless final product.
2. Planning and Measurements
If you’re designing a custom packaging project, start by sketching your idea and finalizing the dimensions. Having a clear vision of the end product will help guide your design process. Take into account the necessary dimensions for the length, width, and depth of the package to ensure that it meets your requirements.
Alternatively, for replicating a box, you can unfold an existing box and measure the flat layout to get the base dimensions for your dieline. This approach allows you to see where the cuts, folds, and creases are located, making it easier to create an accurate template. Whether you’re innovating a new design or replicating an existing one, precise measurements are crucial for a successful dieline.
3. Building the Dieline
Create a new document in your design software and set the color mode to CMYK (for printing).
Use the pen tool or shape tools to create the outline of your packaging in its flat form. This outline will represent the die-cut lines, marking where the package will be cut out from the material.
Be sure to incorporate designated areas for folds and tabs that will allow the packaging to be assembled easily. These areas are typically indicated with dashed lines to distinguish them from the solid die-cut lines.
Including these fold and tab areas is crucial for ensuring that the packaging can be constructed properly, and will maintain its structural integrity once assembled.
4. Differentiating Lines
Use different line colors or layers to distinguish between cutting lines and folding lines. This helps the manufacturer understand how the dieline should be interpreted. Common practices include using a solid line for full cuts and a dashed line for creases. Setting these lines apart visually not only clarifies the dieline but also minimizes the risk of errors during the manufacturing process.
To implement this, assign distinct colors or layers to each type of line in your design software. For example, you might use a solid red line for full cuts and a dashed blue line for creases. Clearly marking these distinctions ensures accurate communication with the manufacturer, facilitating the production of a precise and functional final product.
Applications of Dielines Beyond Packaging
Dielines are not limited to packaging and can be used in various applications within the printing and packaging industry:
Brochures: For complex fold-out brochures, a dieline can help designers visualize the layout and ensure that all elements align correctly.
Labels: Dielines are essential for label designs to ensure they fit perfectly on bottles, jars, or other products.
Cards and invitations: From intricate pop-up cards to simple flat invitations, a dieline is crucial in ensuring the correct sizing and positioning of design elements.
Envelopes: A precise dieline can assist with envelope design, making sure that both address labels and stamps are positioned correctly within the designated space.
Maps: Dielines can be used to create accurate map designs, ensuring that all elements are correctly scaled and positioned for easy navigation.
Signage: Large-scale signage also requires precise dielines to ensure that all design elements are visible and easily readable.
With the use of dielines, designers can expand their creativity beyond traditional packaging and explore new possibilities in various industries. From marketing materials to functional products, incorporating dielines into design processes can result in efficient production and visually appealing final products.